
Installation Guide for Lightroom Mobile app (iPhone / iOS)
Please make sure you have the latest version of the app installed: Download in App Store
- 01 Download the .ZIP file starting with «mobile-presets_iphone…» after your purchase. You can also access your downloads by clicking on the «View Content» link in the confirmation email.
- 02 Once the download is complete, press the download icon in the upper right corner of your screen to open the «Files» app on your phone. Press on the downloaded .ZIP file and the content will be extracted and a new folder should automatically appear. If you don’t have a «Files» application installed, you can use a free app such as iZip.
- 03 Open the Lightroom Mobile app on your iPhone. Click the «+» icon in your library and choose to create new “Folder”. Name the new folder «Presets» and open the folder. Press «Create New Album» and name the album after the downloaded presets, plus «DNG» (e.g. «Dark & Dramatic DNG»).
- 04 Open the album and press the «Add» icon in order to add new images. Navigate to the folder you extracted from the downloaded .ZIP file and select all DNG files in the folder. When you have selected all, choose «Open».
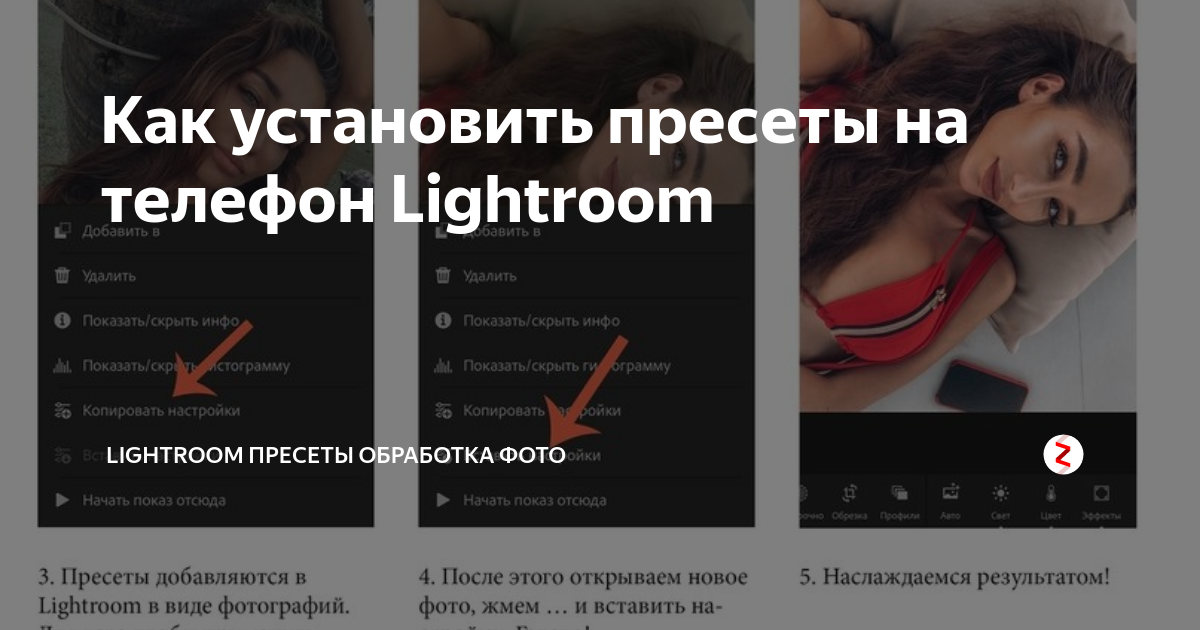
- 05 Open the first DNG image and press the icon with the three dots to open the menu and select «Create Preset».
- 06 Name your preset after the preset pack (e.g. Dark & Dramatic — 01). In «Preset Group», select «Create New Preset Group» and name it after the name of the preset pack. Uncheck «Tools», «Details», «Optics» and «Geometry». Under the “Light” tab uncheck “Exposure”, and under the “Color” tab make sure to uncheck “White Balance”. Press the tick to create the preset.
- 07 Follow the same method as in steps 5 and 6 to create your presets from the other DNG files.
- 08 When you are finished, you will now find the presets under the «Presets» panel.
How to Install Presets in Lightroom Classic CC
If you are an Adobe Creative Cloud subscriber and you have the latest version of Lightroom, the process of installing presets cannot be any easier. We finally have the option to install Lightroom presets from a zipped archive.
This means that when you download any of the Lightroom presets from my site (free collection or paid products), you do not have to unzip them. You can install them directly into Lightroom in one single step.
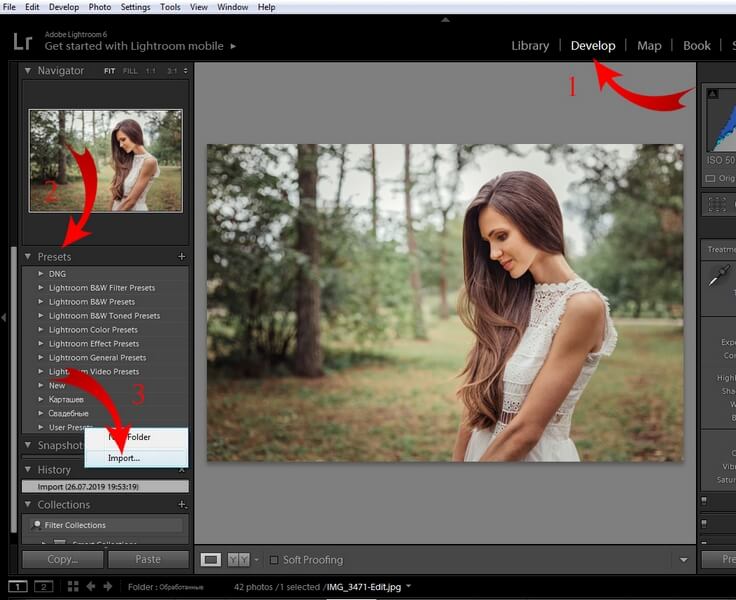
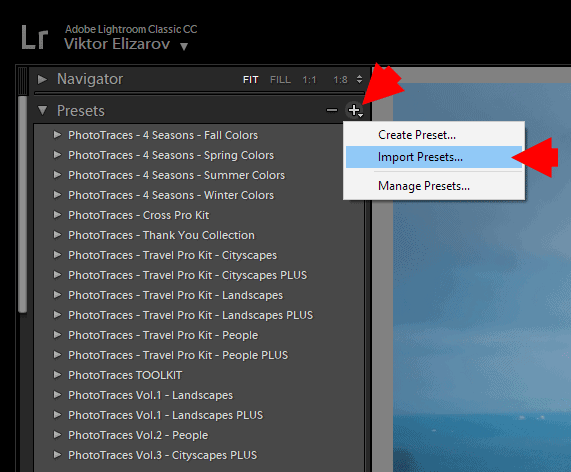
1. In Lightroom, go to the Develop Module and locate the Presets Panel on the left side.
2. Click the “+” Icon on the right side of the panel and select the Import Presets option.
3. Navigate to the location on your computer where you saved the zipped file with the presets, select it and click the Import button.
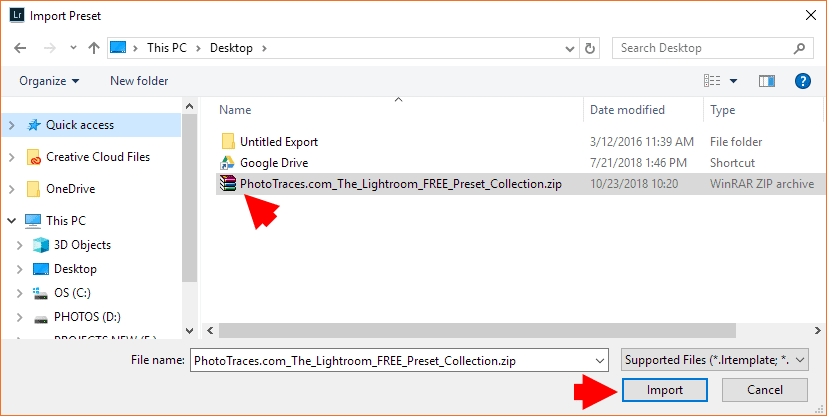
You are done. Lightroom locates the presets in the new .XMP format installs them and ignores the rest of the files.
The good news is that all my presets come in both formats and you can use the method outlined above without worrying about the format issue.
In case anyone is trying to install legacy presets to the latest version of Lightroom Classic, please follow the steps outlined below.
Installing presets in Lightroom Mobile
Method 1: via Lightroom on desktop (using XMP presets)
You must install the presets in the Lightroom desktop application (not Lightroom Classic) on your Windows or Mac computer first. Once they are installed, the presets will automatically sync to your mobile device via the cloud. See also: Step-by-step guide by Adobe.
Method 2: via Lightroom Mobile app
Below you will find installation instructions on how to install Lightroom Presets in the free Lightroom Mobile app for and for which you do not need a paid version of Lightroom. However, this installation method is very time-consuming on iOS devices, and method 1 is clearly recommended if you have a Creative Cloud subscription.
How to Install Presets in Lightroom 4, 5, 6 or Lightroom Classic Prior to the 7.3 Version
If you are using a legacy version of Lightroom, you absolutely must use presets in the .lrtemplate format. The new .XMP format is not backward compatible.
Use the following installation steps:
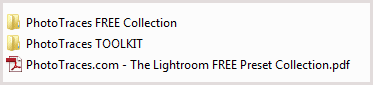
1. After you downloaded Lightroom Preset Collection archive you need to unzip (extract) it. Now you should see two folders that contain presets files:
If you are installing PhotoTraces FREE Collection this is what you should see:

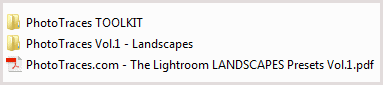
If you are installing Lightroom Rapid Editing System for Landscapes this is what you should see:

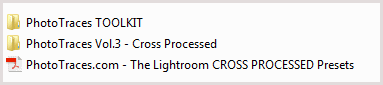
If you are installing Lightroom Rapid Editing System for Cityscapes this is what you should see:

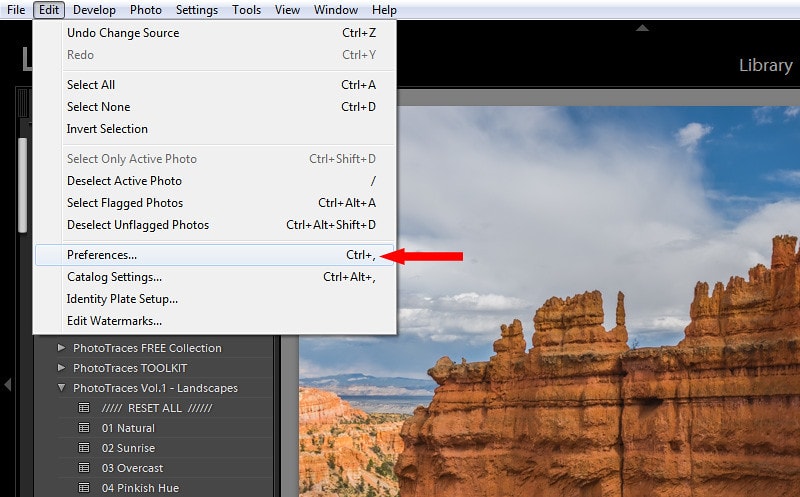
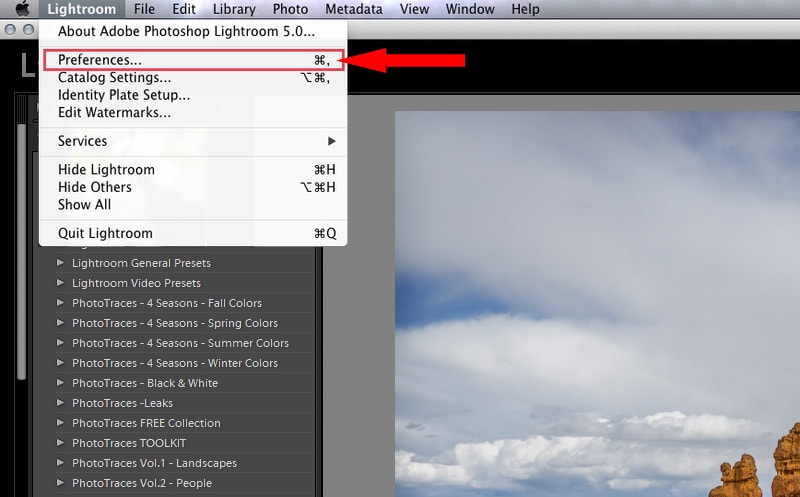
2. Start Lightroom and from the top main menu select Edit > Preferences…

If you use Mac you will find the Preferences option under the Lightroom menu.

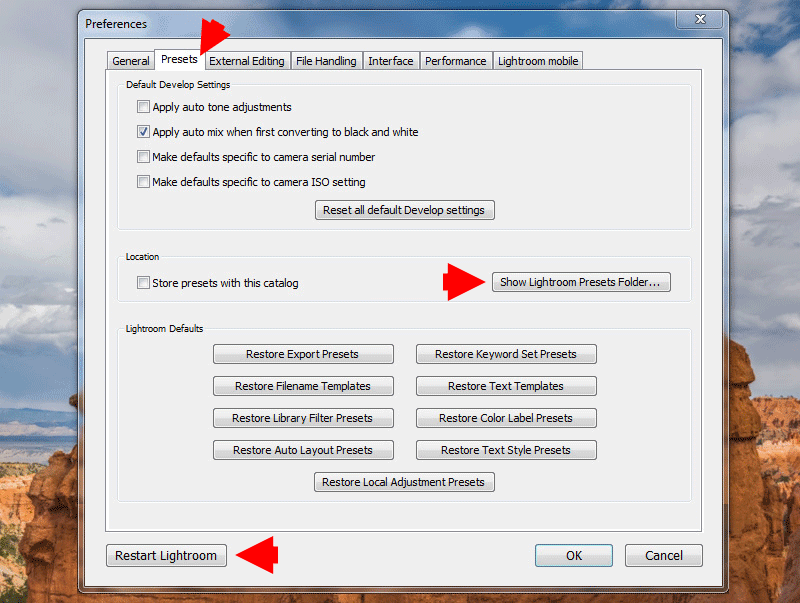
3. Select the Presets tab inside of the Preferences screen.


4. Click on the button titled, Show Lightroom Presets Folder…
5. Double click on Lightroom folder.
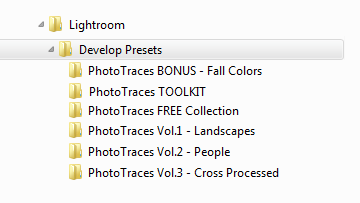
6. Locate Develop Presets folder and open it.
7. Copy the contents of the archive, the ones you unzipped (extracted) in step 1.

8. Restart Lightroom
Installation Guide for Lightroom Mobile app (Android)
Please make sure you have the latest version of the app installed: Download in Play Store
- 01 Download the .ZIP file starting with «mobile-presets_android…» after your purchase. You can also access your downloads by clicking on the «View Content» link in the confirmation email.
- 02 Open the Lightroom application on your phone and select an image from your library and press to open it.
- 03 Slide the toolbar to the bottom to the right and press the «Presets» tab. Press the three dots to open the menu and select «Import Presets».
- 04 Your file explorer appears on the screen. Navigate to the folder on your phone where you downloaded the .ZIP file and press the .ZIP file to import the presets. (If you cannot import the .ZIP file directly, use the «My Files» app on your phone to extract the contents of the .ZIP file first.)
- 05 Your presets will now be imported and will be available under a new group in the «Presets» tab.
How to Install Legacy Presets (.lrtemplate format) in the Latest Version of Lightroom Classic CC
Download the presets and unzip them.
1. Download the presets, unzip them. and remember the location of the files on your computer.
Now you should see two folders that contain presets files:
If you are installing PhotoTraces FREE Collection this is what you should see:
If you are installing Lightroom Rapid Editing System for Landscapes this is what you should see:
If you are installing Lightroom Rapid Editing System for Cityscapes this is what you should see:
2. Start Lightroom and from the top main menu select Edit > Preferences…
If you use Mac you will find the Preferences option under the Lightroom menu.
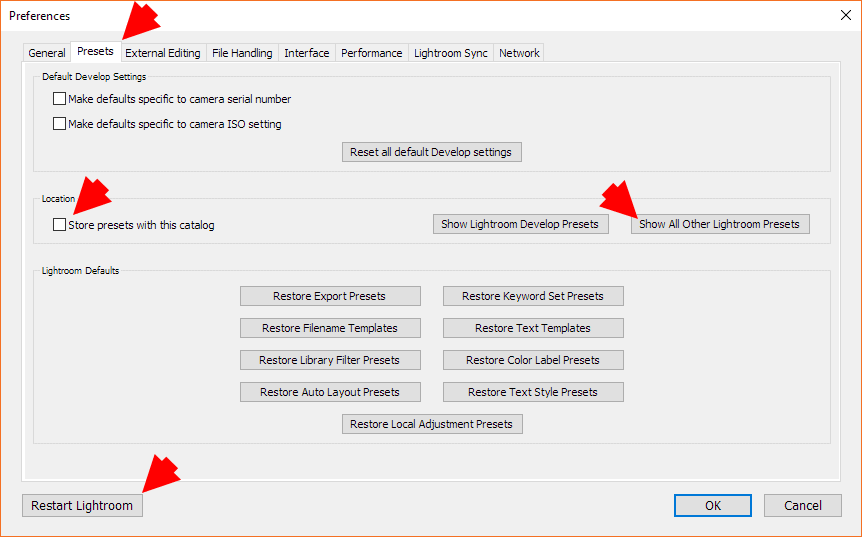
3. Select the Presets tab inside of the Preferences screen.


4. Make sure the Store presets with the catalog is unchecked
5. Click on the button titled, Show All Other Lightroom Presets.
5. Double click on Lightroom folder.
6. Locate Develop Presets folder and open it.
7. Copy the contents of the archive, the ones you unzipped (extracted) in step 1.
8. Restart Lightroom
If you are looking how to install Adobe Creative Profile, you can find it here: Lightroom Creative Profiles vs Develop Presets. What is the Difference?