How to Use Google Drive to Convert XPS File to PDF on Mac?
Using Google Drive, you can easily convert XPS files to PDF files on Mac by using the following steps.
Step 1: Go to Google Drive.
Step 2: Upload the XPS or OXPS file to your Google Drive.
Step 3: Double-click the document, and now you can preview it.
Step 4: Click the Print icon in the top right corner, which will take you to a new tab. There is also a Print icon on the page opened in the new tab. Click the icon.
Step 5: Now you should find the Save as PDF option. Choose to save all or selected pages of your XPS or OXPS document to PDF format.
Step 6: Click Save.
Step 7: In the dialogue box that appears, click Save.
This method is a little bit complicated, but it does work.
Hope this article helped you in viewing the XPS file. If you are a regular user of XPS files you might face a situation like deletion of XPS or if you have already deleted or lost your XPS file due to any reason, and want to recover deleted XPS files. Don’t worry there are various software’s to restore XPS files but the most suggested software by industry experts to get back lost XPS documents is the Yodot Files Recovery tool.
Download Now
Download Now
Что это за формат?
Файлы, имеющие расширение «.xps», представляют собой документы, которые необходимы для обработки графики и дальнейшей распечатки полученного результата. Формат был разработан при непосредственном участии Microsoft. Тем удивительнее, что двойной клик ЛКМ по XPS-файлу не открывает файл, а предлагает найти средство просмотра через интернет.
На заметку. По умолчанию средство просмотра XPS работало на Windows 7, Vista 8 и первых версиях «десятки». Впоследствии прямую поддержку формата было решено исключить в связи с наличием более продвинутых расширений.
Говоря о расширении «.xps», нужно заметить, что в свое время оно воспринималось в качестве альтернативы PDF. Но, даже при отсутствии былого уровня популярности формат до сих пор остается востребованным. Он построен на базе XML и в сравнении с PDF является более легким, а возможности взаимодействия с ним практически не ограничены рамками программного обеспечения.
Как открыть файл XPS в Windows 10
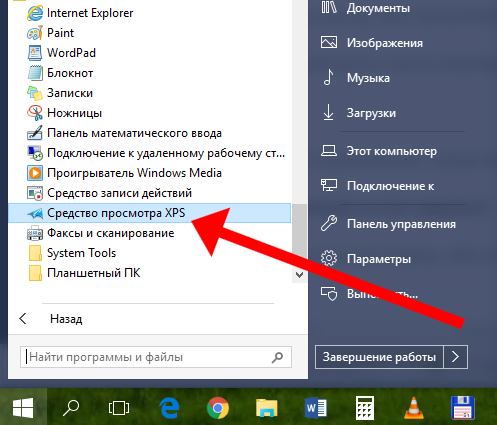
Теперь можно запустить XPS Viewer, выполнив команду: xpsrchvw.exe в окне Win+R. При необходимости используя поиск найдите приложение Средство просмотра XPS.
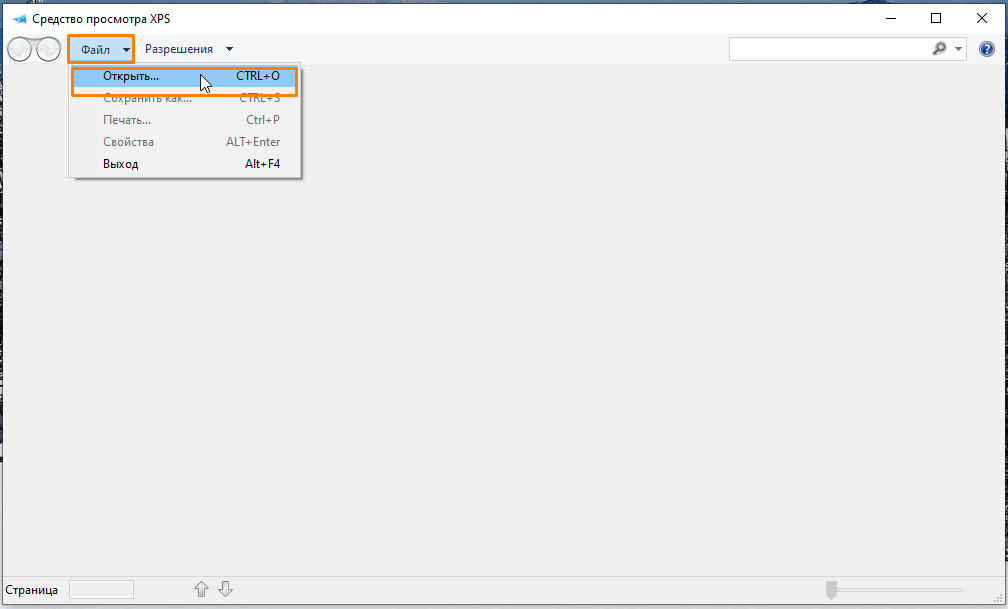
В открывшемся окне средства просмотра нажиме Файл > Открыть. В проводнике укажите расположение и выберите XPS-документ. В принципе можно используя контекстное меню открыть с помощью выбрать нужное приложение.
Большинство классических приложений для работы с PDF позволяют открыть файл формата XPS. Дополнительно не составит проблем возможность выполнения конвертации неизвестного XPS в привычный PDF. Для быстрой конвертации можно воспользоваться онлайн-сервисами или соответствующим программным обеспечением.
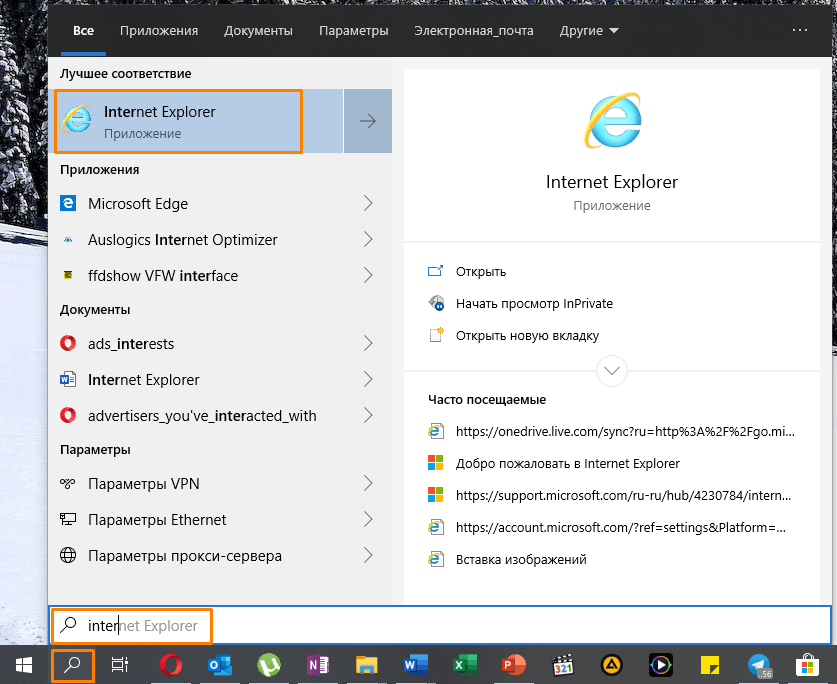
Например, популярный STDU Viewer умеет просматривать файлы в формате XPS. А также Internet Explorer 11 позволяет просматривать XPS-файлы, если установлен компонент NET Framework 3.5 для Windows 10.
Включаем поддержку формата XPS (OXPS) в Windows 10
Описанные ниже действия нужно проводить из под учетной записи, имеющей права администратора — в противном случае, список компонентов будет пустым!
- Нажимаем правой кнопкой по кнопке «Пуск» — и в открывшемся меню выбираем пункт «Приложения и возможности».
- Откроется окно Параметров, со списком установленных программ. Нужно найти строчку «Управление дополнительными компонентами», и нажать на неё.
- Далее, нужно нажать на «Добавить компонент».
-
Ищем пункт «Средство просмотра XPS» (должен быть в самом низу), нажимаем на него.
Затем нажимаем на появившуюся кнопку «Установить».
После этого компонент просмотра XPS будет установлен в системе.
How to use XPS Viewer
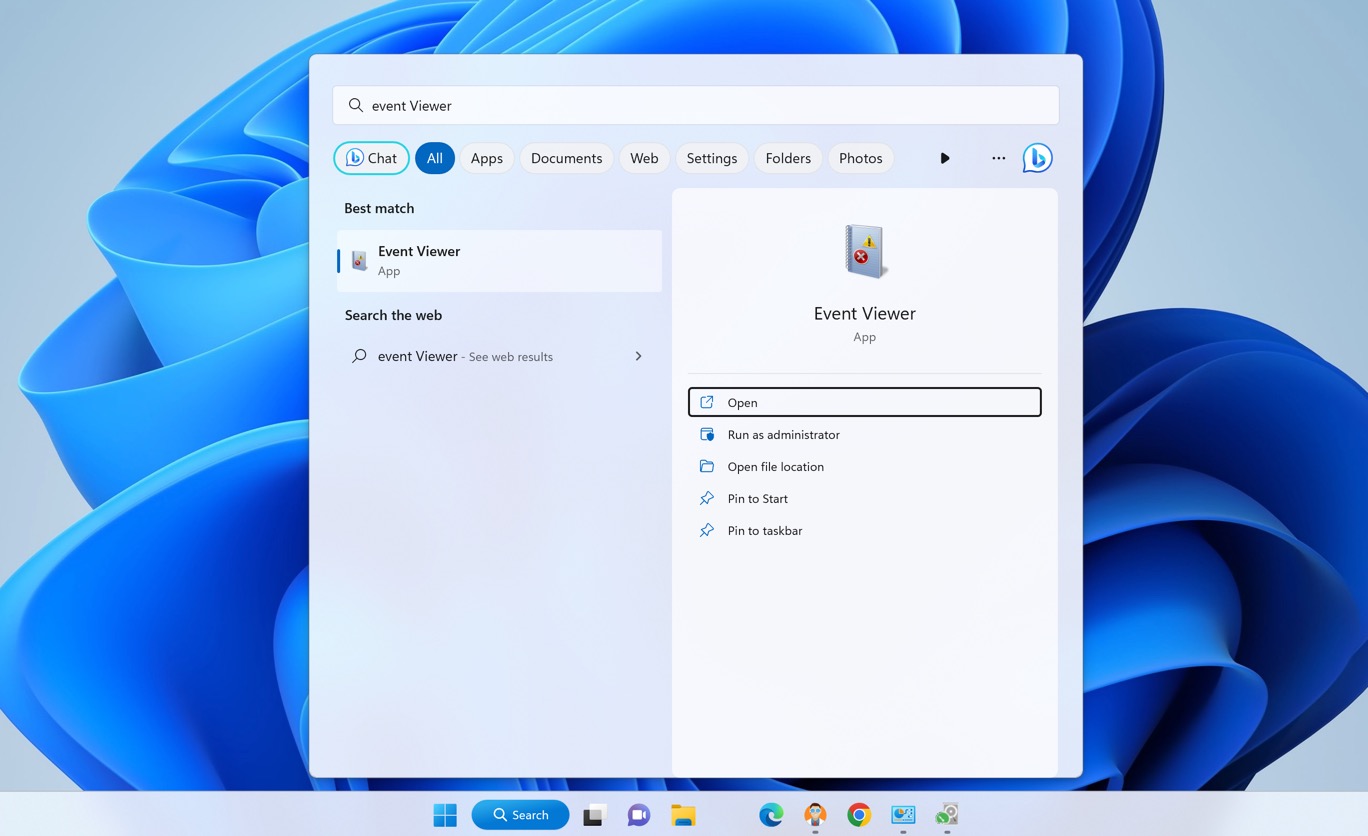
You can launch the application by searching for it in Windows Search, or the Start menu.Start Menu search for XPS Viewer
Alternatively, you can also type in xpsrchvw in Run or Command Prompt to launch XPS Viewer.
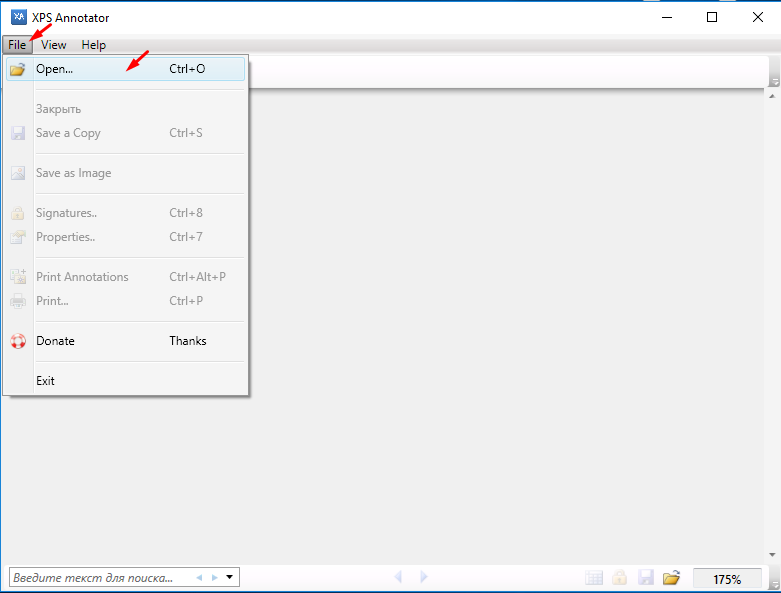
To open an XPS document, click on File from the top menu in the XPS Viewer, and click Open. You can then browse the saved XPS file and select it to open it in XPS Viewer.
Open an XPS file in XPS Viewer
Once a document is open, you can then save its copies, or change its permissions by clicking on the Permissions menu from the top, and then clicking Set permissions.
Modify file permissions in XPS Viewer
You can also convert an XPS file to PDF format. To do so, simply click on the Print button at the top of the app, and then select Print to PDF. Click OK to save the document as a PDF file.XPS to PDF
Since XPS Viewer is a tiny application, it cannot do much of anything else, except for what we have already discussed.
XPS Viewer alternatives
There are other methods available on the internet that can be used instead of XPS Viewer. Some are applications that can be installed, whilst others provide an online web view.
GroupDocs
GroupDocs is a quick and free online tool to help you view your XPS and OXPS files. All that is required is for you to drag and drop your file, and it will convert and display it for you.
![How to open xps files in windows 10 [2 easy methods]](https://kirovlom.ru/wp-content/uploads/d/e/6/de6b73defef33a69b4023a9708decf70.png)
To use GroupDocs, open their webpage in any browser and simply drop your file over the given area.GroupDocs
SumatraPDF
SumatraPDF is a downloadable application that can be used to view almost any document. This includes .xps, .oxps, and .pdf.
SumatraPDF
Google Drive
Google Drive is an excellent tool as it also supports XPS formatting. All you need to do is upload the file to Google Drive and you can then view it easily.
Open Google Drive, click New, and then click File Upload from the drop-down menu.Google Drive upload
Now browse to upload the XPS file. Once uploaded, click on it to view it within the browser directly from Google Drive.
XPS document opened from Google Drive
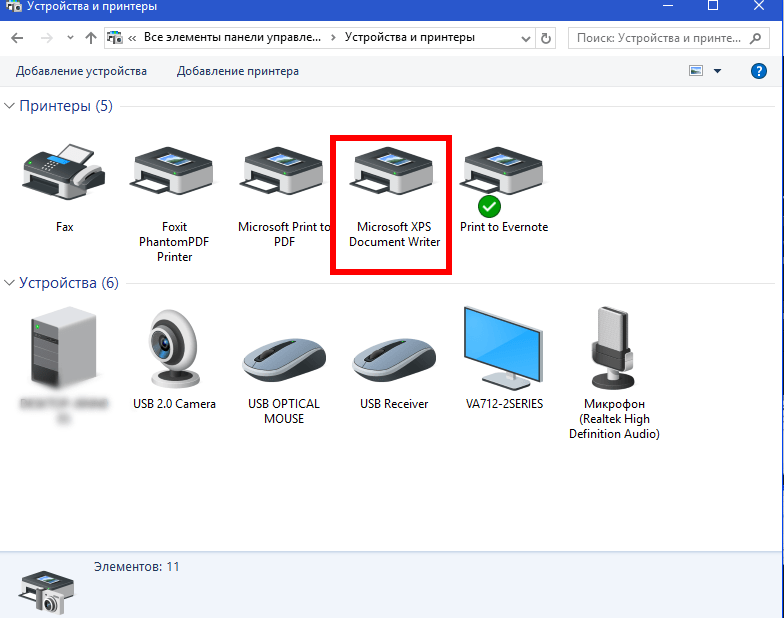
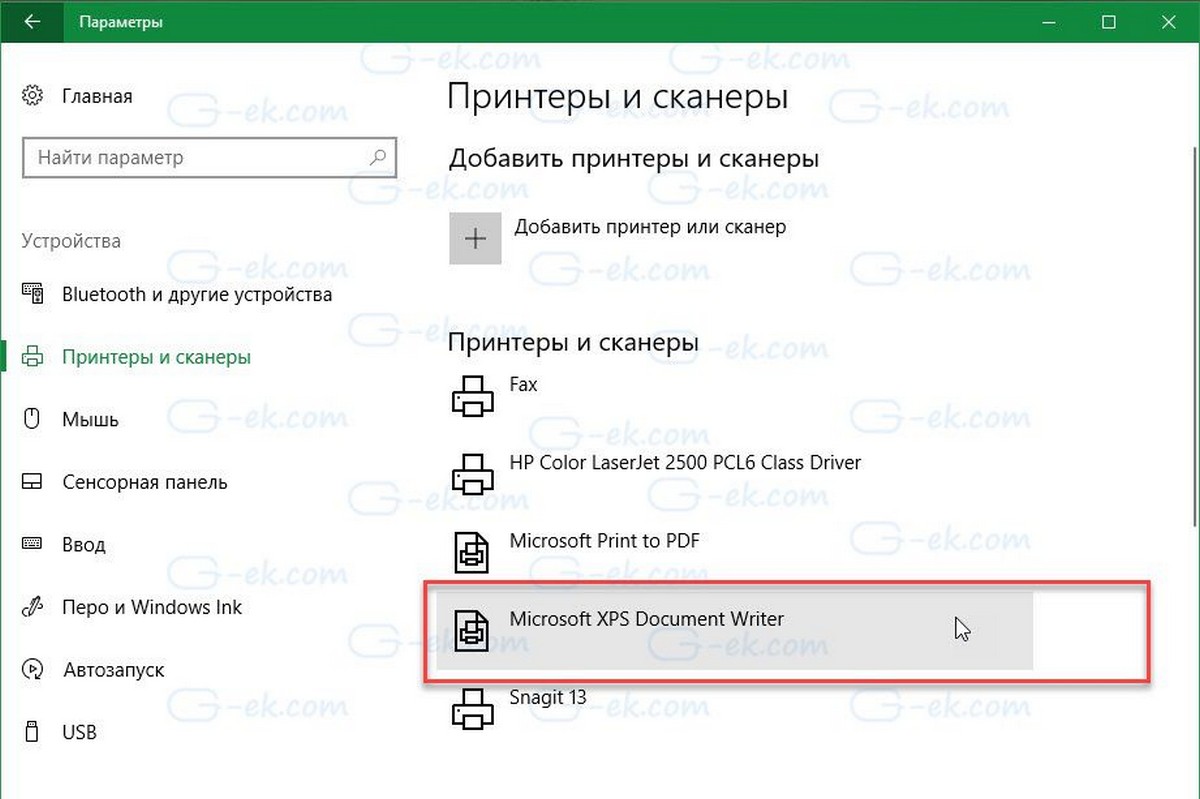
Microsoft XPS Document Writer (MXDW)
Microsoft XPS Document Writer is another hidden gem in both Windows 11 and 10. Similar to the method of creating a PDF document while printing and selecting the option Print to PDF, MXDW provides the same option, but for XPS.Print to XPS
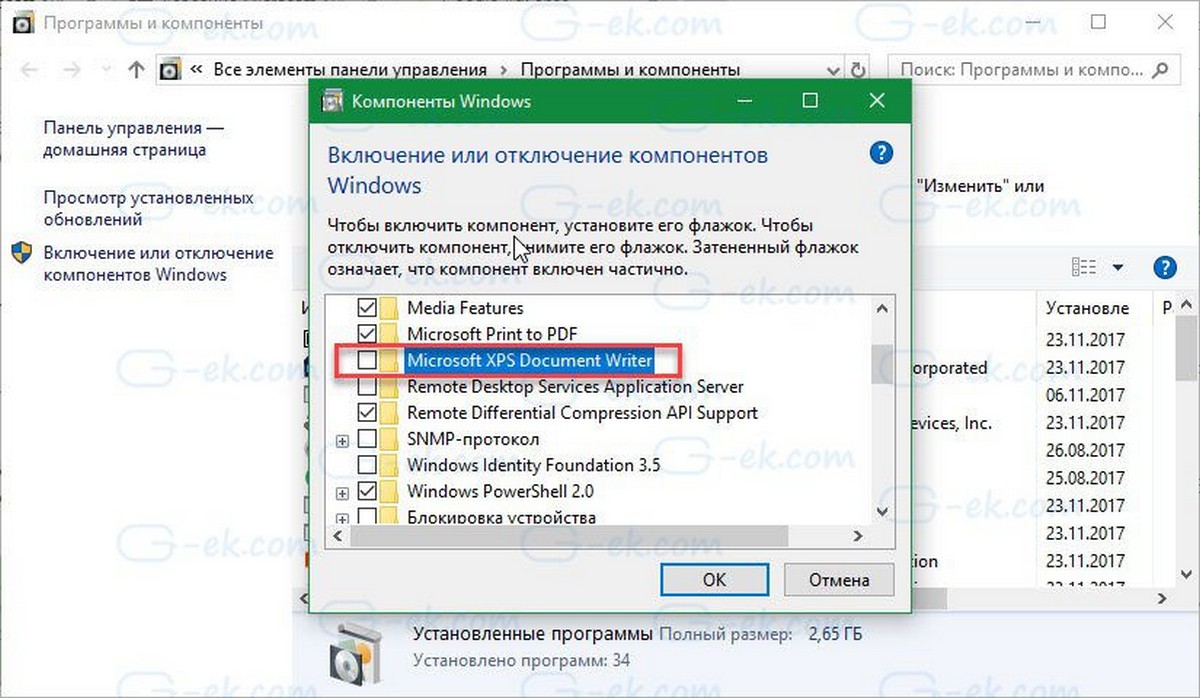
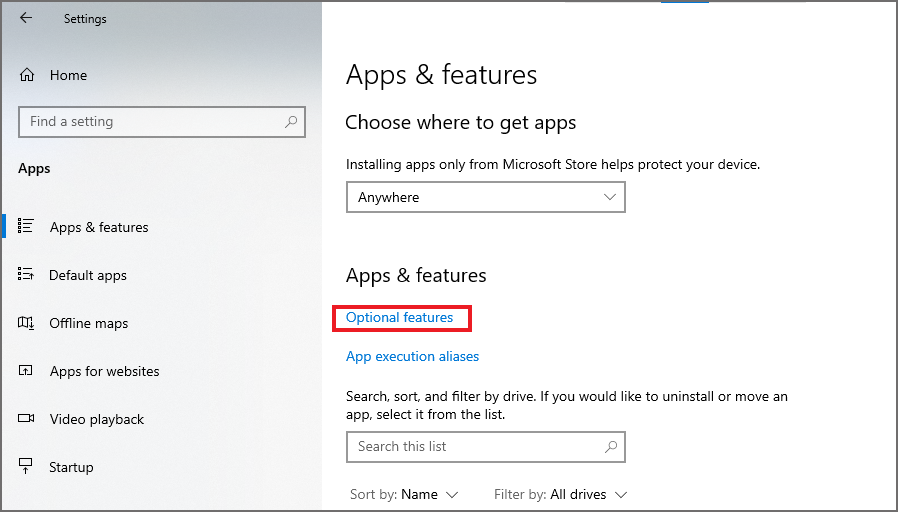
This feature has to be enabled manually through Optional Features. To do so, type in appwiz.cpl in Run, and then click Turn Windows features on or off on the left.Turn Windows features on or off
In the pop-up window, scroll down and check the box next to “Microsoft XPS Document Writer,” then click Ok.
Turn on MXDW
MXDW will now be installed in a few seconds. You should now be able to see the option to Print to XPS on the print pages, which you can select to save files in .xps format.
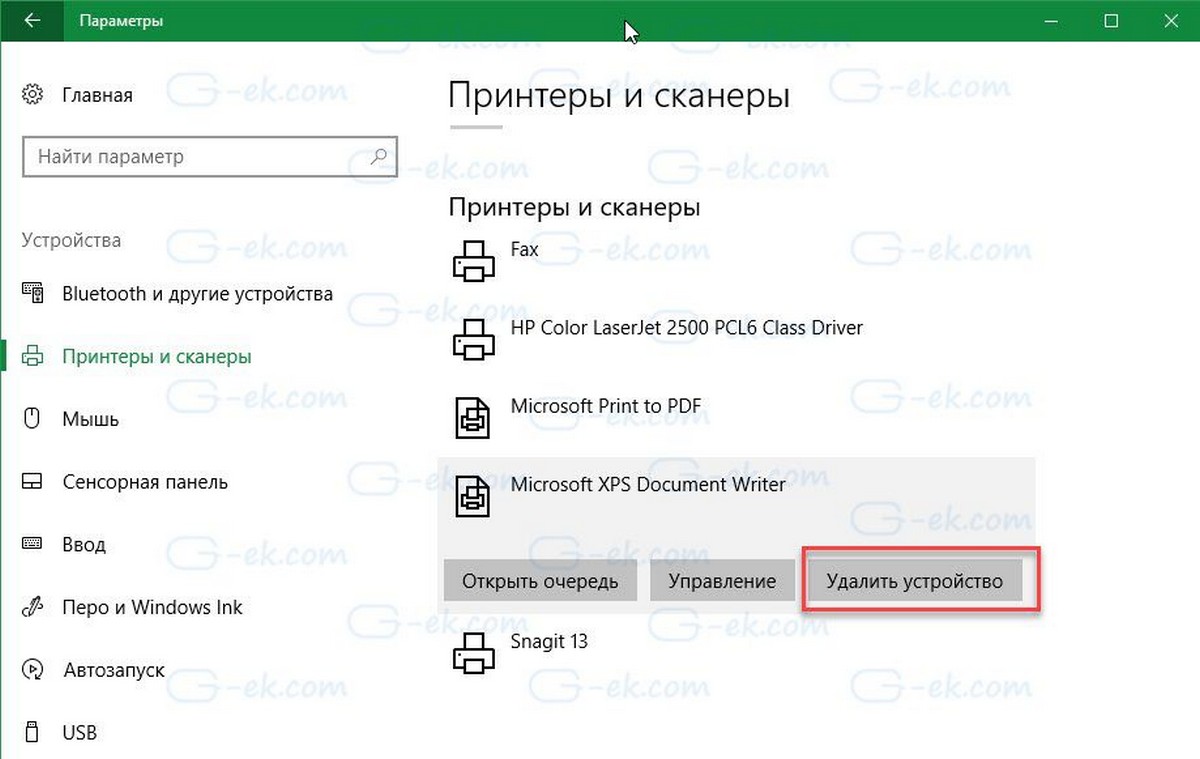
In case you8 ever feel like turning off the feature, simply uncheck the box next to “Microsoft XPS Document Writer” on the Windows Features page.
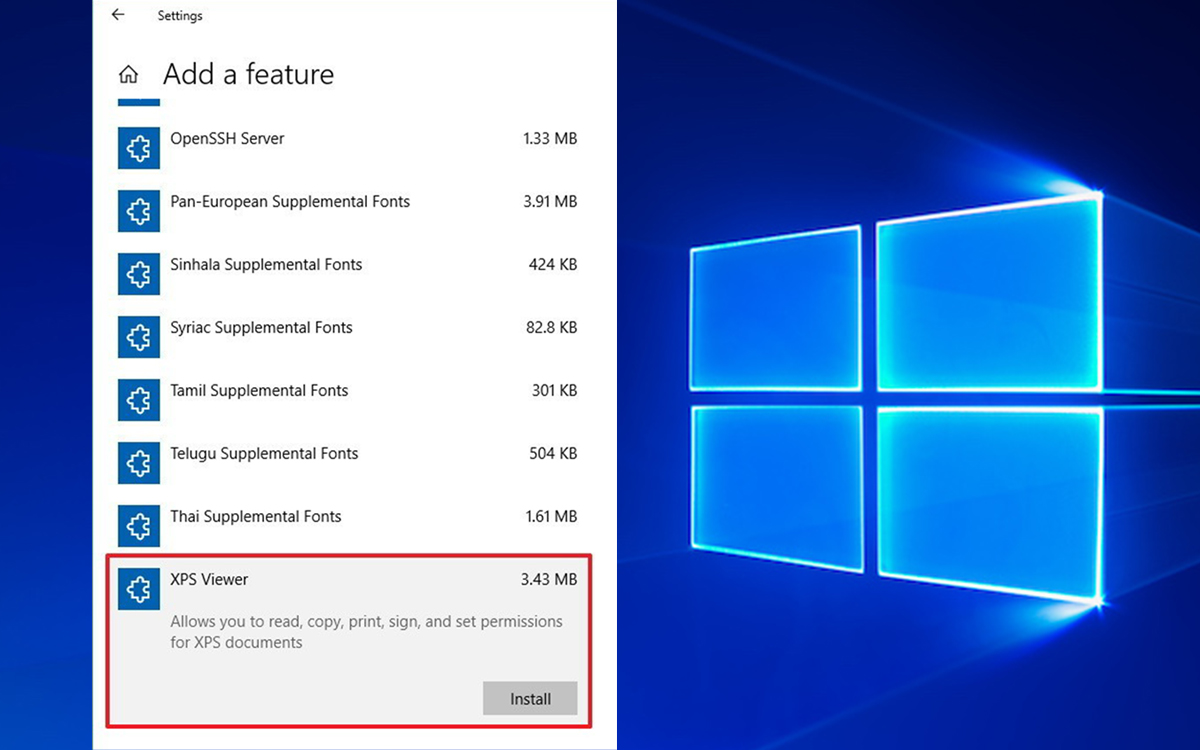
How to Install the XPS Viewer
The XPS Viewer FOD component can be installed using different methods. Follow one of the options below.
Method 1: Using Settings
- Open Settings → System → Optional features.
- Click “View features.”
- In the “Add an optional feature” dialog, type .
- Select the “XPS Viewer” checkbox, and click Next.
- On the next screen, click Install.
The above steps are for Windows 11.
On Windows 10, follow the steps below:
- Open Settings, System.
- Click “Optional features”.Note: If “XPS Viewer” is not already installed, it won’t appear in the “Installed Features” listing
- Click “Add a feature.”
- Type xps
- Select the “XPS Viewer” checkbox.
- Click “Install.”
RELATED: How to Restore Microsoft Print to PDF After Deleting it Accidentally
Method 2: Using DISM
To install the XPS Viewer using DISM, ensure the system is connected to the internet. And then, run the following commands from the admin Command Prompt:
dism /online /remove-capability /capabilityname:XPS.Viewer~~~~0.0.1.0
dism /online /add-capability /capabilityname:XPS.Viewer~~~~0.0.1.0
The above commands uninstall XPS Viewer and reinstall XPS Viewer by downloading the source files from Windows Update.
Method 3: Using DISM (using CAB file) offline
Methods 1 and 2 require internet access to download the FOD packages. To install the XPS Viewer or other FOD packages on a computer that’s offline (i.e., with no internet access), you must use the .cab file. The FOD .cab files will be available in the Windows FOD ISO.
The download links for the Language and Optional Features ISOs are below:
Windows 11, version 22H2 Language and Optional Features ISO (Link Source)22621.1.220506-1250.ni_release_amd64fre_CLIENT_LOF_PACKAGES_OEM.iso
Windows 10, version 2004 (and later) Features on Demand #1 ISO ()19041.1.191206-1406.vb_release_amd64fre_FOD-PACKAGES_OEM_PT1_amd64fre_MULTI.iso
Instructions
- Download the appropriate FOD ISO and mount the ISO. To mount the ISO, right-click on it and click “Mount”. The cab file name for the XPS Viewer is mentioned below:
XPS Viewer – FOD Info
Feature name: XPS Viewer
Capability name: XPS.Viewer~~~~0.0.1.0
CAB file name: Microsoft-Windows-Xps-Xps-Viewer-Opt-Package~31bf3856ad364e35~amd64~~.cab
The above CAB file will be present in the folder of the Windows 10 FOD ISO. Whereas in the Windows 11 FOD ISO, this file is located under the folder.
- Suppose the FOD ISO’s mounted drive-letter is . To install the XPS Viewer FOD component, run the following command:Windows 11
dism /online /add-package /packagepath:"H:\LanguagesAndOptionalFeatures\Microsoft-Windows-Xps-Xps-Viewer-Opt-Package~31bf3856ad364e35~amd64~~.cab"
Windows 10
dism /online /add-package /packagepath:"H:\Microsoft-Windows-Xps-Xps-Viewer-Opt-Package~31bf3856ad364e35~amd64~~.cab"
You’ll see the following output:
Deployment Image Servicing and Management tool
Version: 10.0.19041.844

Image Version: 10.0.19045.3086

Processing 1 of 1 - Adding package Microsoft-Windows-Xps-Xps-Viewer-Opt-Package~31bf3856ad364e35~amd64~~10.0.19041.1

The operation completed successfully.
That’s it!
One small request: If you liked this post, please share this?
One «tiny» share from you would seriously help a lot with the growth of this blog.
Some great suggestions:
Pin it!
Share it to your favorite blog + Facebook, Reddit
Tweet it!
So thank you so much for your support. It won’t take more than 10 seconds of your time. The share buttons are right below. ![]()
Программы из магазина приложений «Microsoft Store»
Многие приложения для работы с форматом PDF позволяют открывать и XPS-файлы. Большой выбор таких программ представлен в официальном магазине приложений Windows 10 «Microsoft Store».
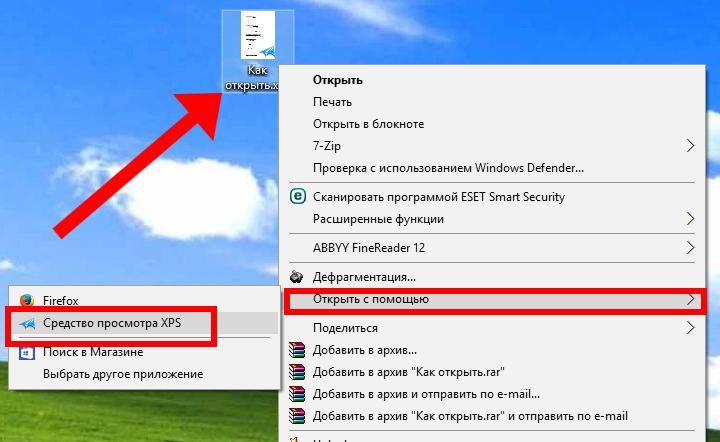
- Кликаем на файл XPS в «Проводнике» Windows правой кнопкой мыши и выбираем в его контекстном меню команду «Открыть с помощью».
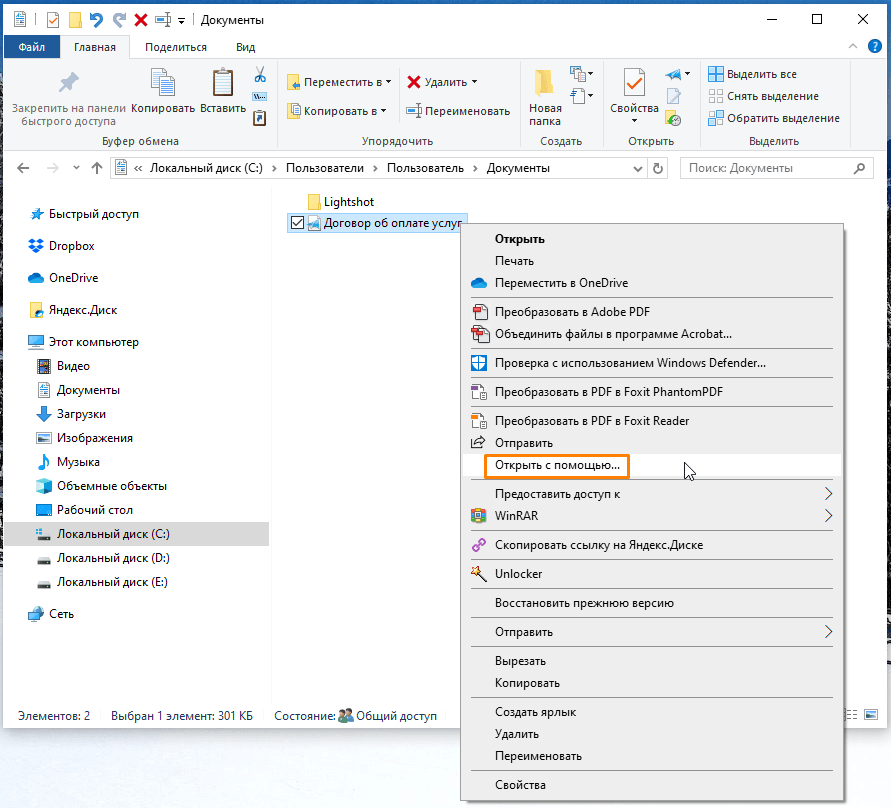
Кликаем команду «Открыть с помощью»
- Далее указываем, что для открытия этого файла мы хотим найти приложения в «Microsoft Store», и нажимаем кнопку «ОК».
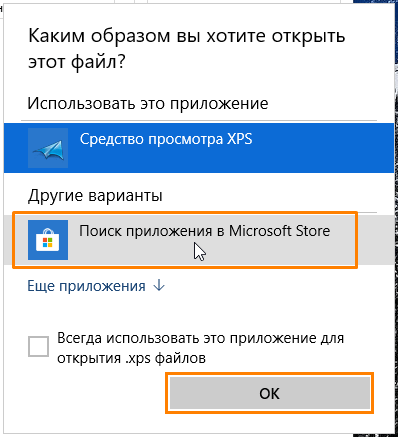
Выбираем «Поиск приложения в Microsoft Store»
- Запустится магазин приложений с подборкой программ, поддерживающих формат XPS. Выбираем одну из них, например, «Perfect PDF Reader».
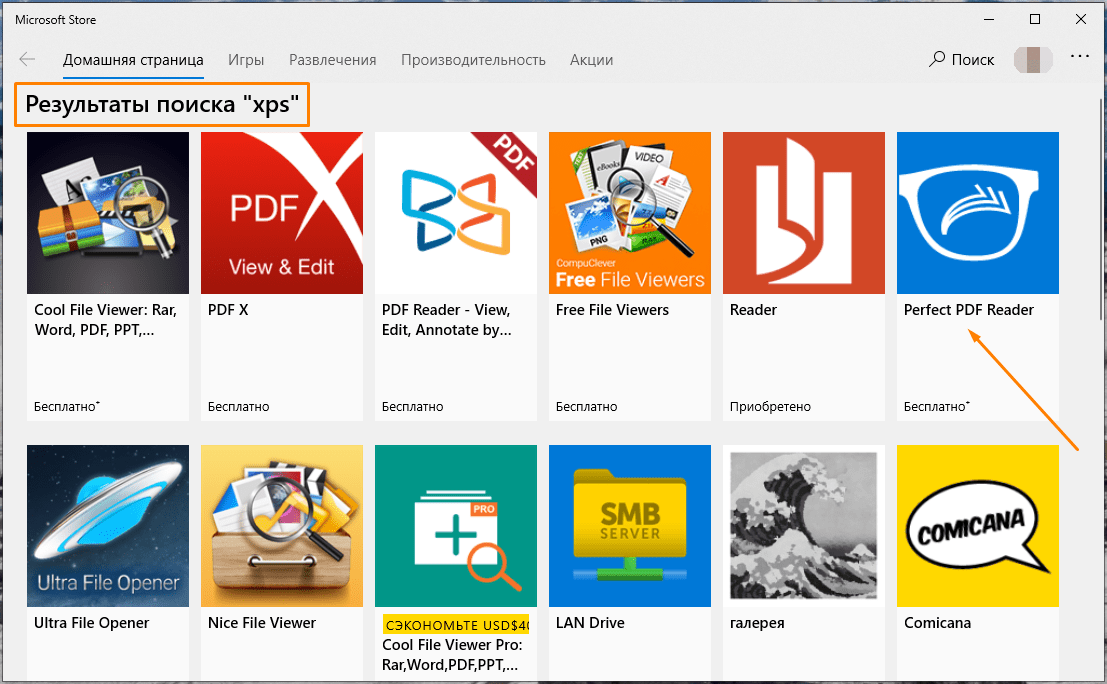
Выбираем одну из программ из результатов поиска «XPS»
- В описании программы указаны форматы, с которыми она работает. Для установки приложения нажимаем кнопку «Получить».
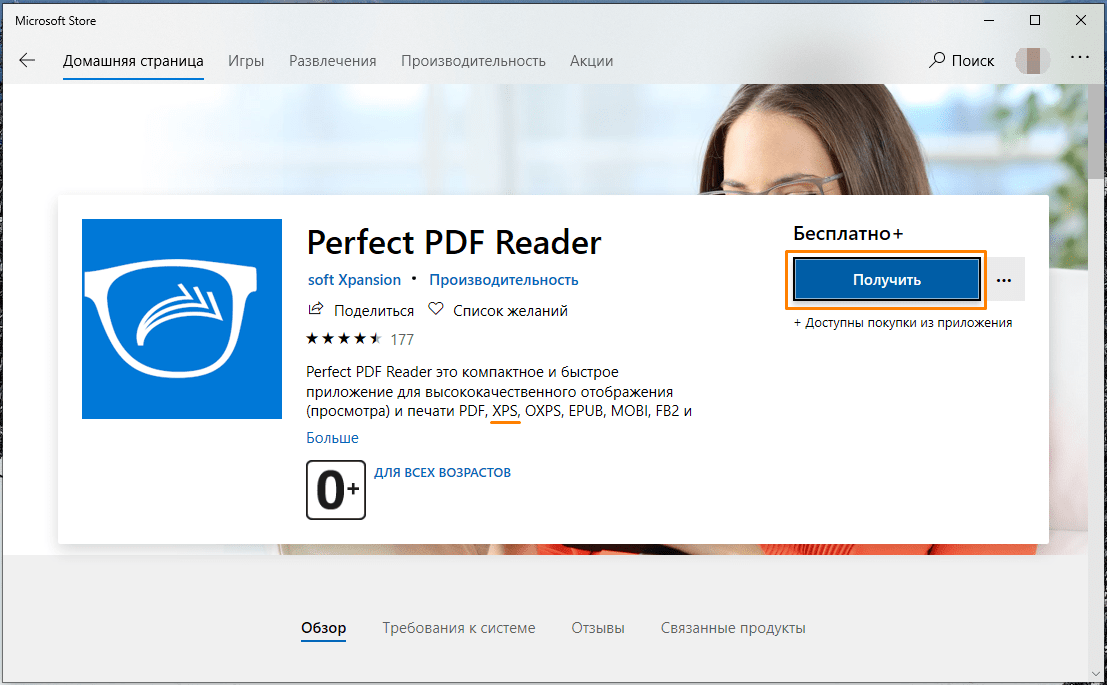
Жмем на кнопку «Получить» для скачивания и установки приложения
- После окончания установки становится доступной кнопка «Запустить».
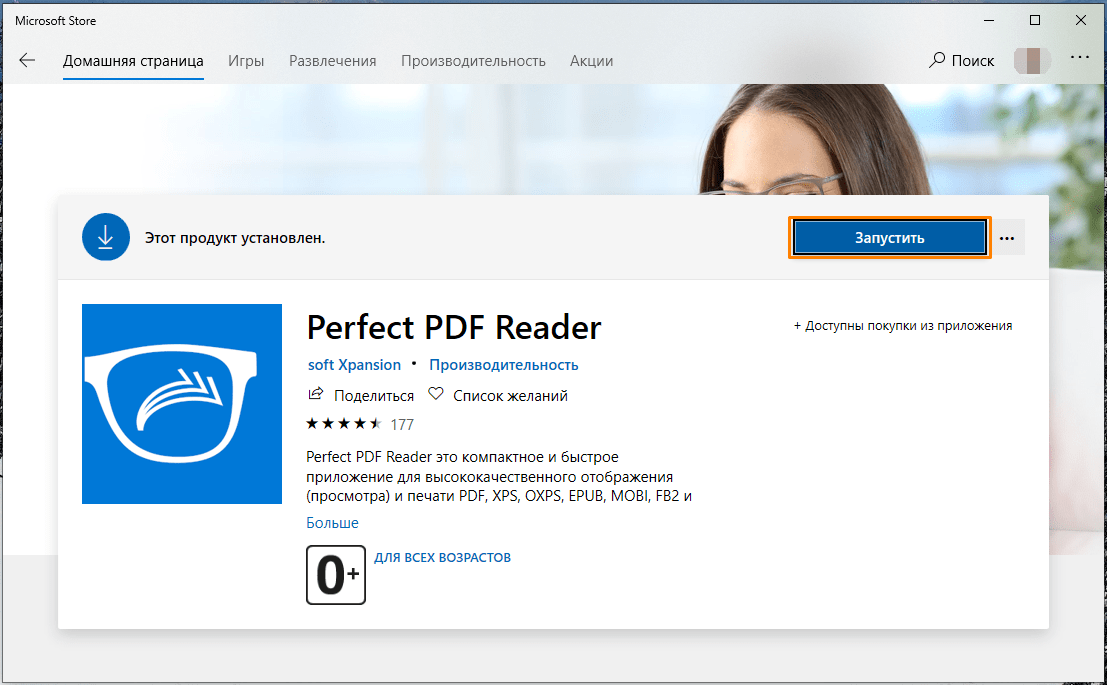
Запускаем установленное приложение
- В окне программы «Perfect PDF Reader» кликаем на стрелку в кружке, а затем на появившейся слева панели выбираем команду «Открыть».

Выбираем команду «Открыть»
- Переходим к расположению нужного файла в формате XPS и дважды кликаем по нему. Файл откроется в окне программы «Perfect PDF Reader».
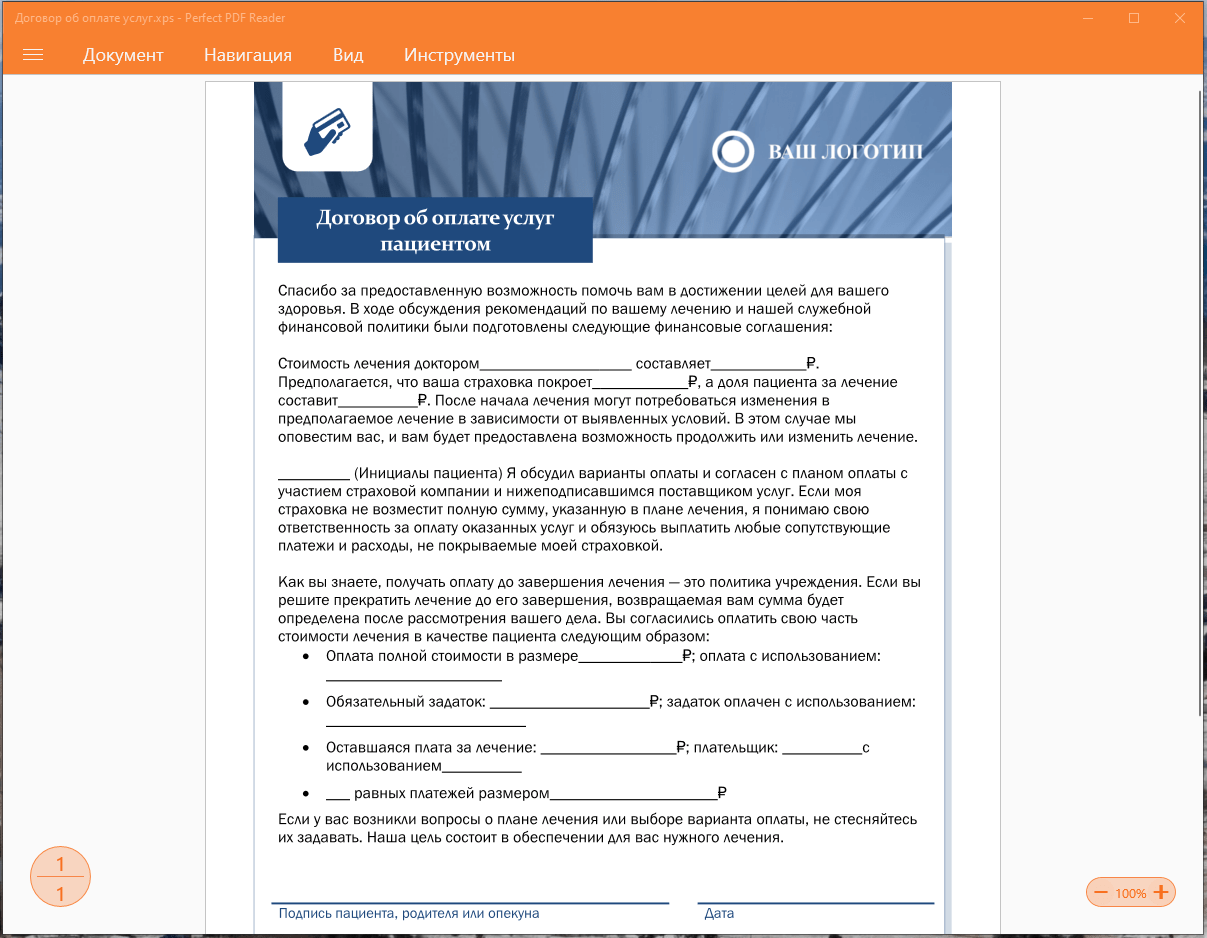
Просматриваем XPS-файл в приложении «Perfect PDF Reader»
Мы разобрали три способа открытия файлов XPS в Windows 10 — в вашем распоряжении как стандартные средства просмотра, так и сторонние приложения.
Чем открыть файл XPS (OXPS) в Windows 10
Даже в ситуации, когда по умолчанию операционная система не дает пользователю открыть XPS-файл, он может обратиться к помощи разных средств просмотра. Они представлены как разработками сторонних студий, так и самой Microsoft, и для каждого конкретного вида ПО действует специальная инструкция.


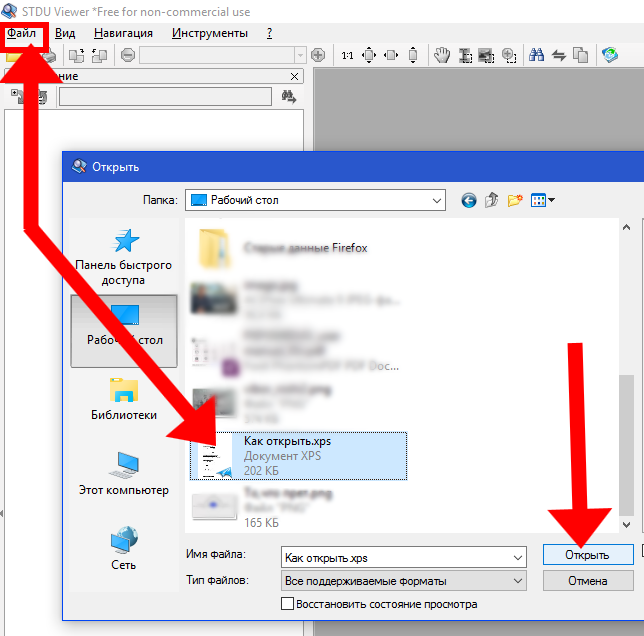
STDU Viewer
Открывать файлы XPS на операционной системе от Microsoft помогает очень простая, но в то же время продуктивная утилита STDU Viewer. Она способна обрабатывать как текстовую, так и графическую информацию. После загрузки и установки программного обеспечения на компьютер понадобится сделать следующее:
- Запустите STDU Viewer.
- Щелкните по иконке в виде папки.
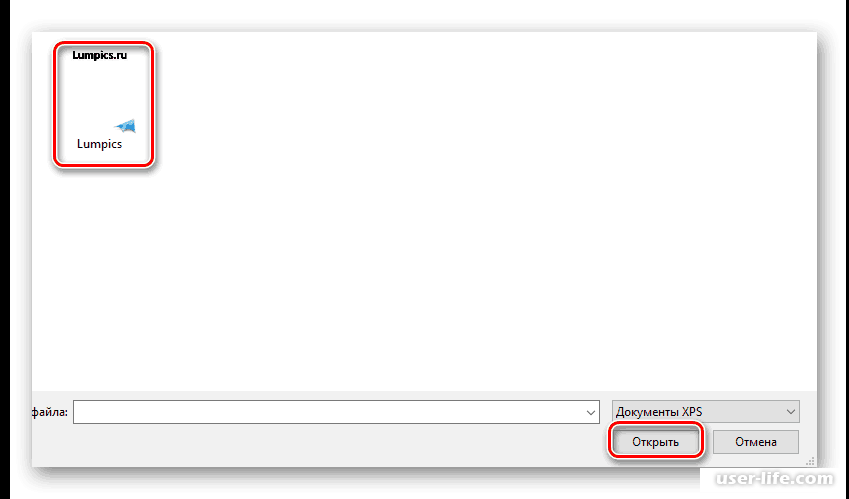
- Выберите XPS-файл, с которым планируете работать.
- Нажмите на кнопку «Открыть».
После этого информация, зашифрованная в файл, отобразится во встроенном редакторе STDU Viewer. Вы сможете осуществлять любые манипуляции, включая изменение исходных параметров. Также через утилиту можно распечатать графику или текст.
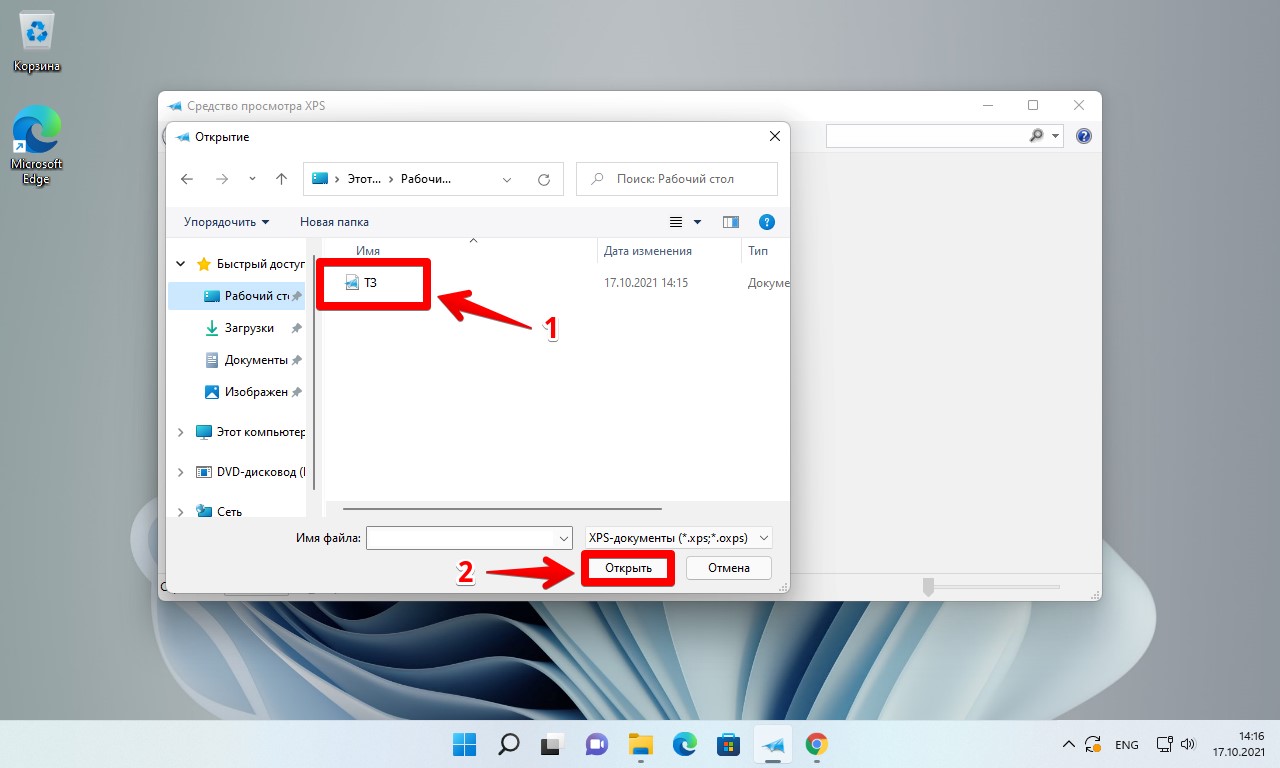
XPS Viewer
Еще одно полезное средство, которое справляется не только с XPS, но и с немного видоизмененным форматом OXPS. Внешне программа отличается от STDU Viewer, однако это не помешает открыть интересующий вас файл:
- Скачайте и установите приложение, а потом запустите его.
- Кликните по синей иконке папки, расположенной в левом верхнем углу.
- Выберите файл и нажмите на кнопку «Открыть».
Совет. Вы можете сделать XPS Viewer и любую другую программу основным средством работы с XPS-файлами для более быстрого запуска двойным щелчком ЛКМ. Кликните ПКМ по названию файла, выберите опцию «Открыть с помощью» и добавьте приложение в качестве основного инструмента.
Главное отличие в сравнении с предыдущей программой заключается в оформлении утилиты, а также в функционале редактора. Внешне XPS Viewer выглядит даже удобнее STDU Viewer, но элементы приложения не дублируются текстом. Поэтому придется запоминать значение каждой иконки.
SumatraPDF
Поскольку расширение «.xps» является прямой альтернативой PDF, создатели приложений для работы с PDF-файлами добавили поддержку XPS и OXPS. В частности, это касается SumatraPDF. Интерфейс программы выполнен на русском языке, но сам запуск файлов немного отличается от предыдущих утилит:
- Запустите SumatraPDF.
- Щелкните ЛКМ по надписи «Открыть документ».
- Выделите интересующий объект, а затем нажмите на кнопку «Открыть».
Внутри приложения отобразятся все страницы документа. Вы сможете изменять масштаб, а также напрямую редактировать исходный файл. Одновременно с этим доступна функция печати.
Hamster PDF Reader
Продвинутый инструмент для чтения, редактирования и подготовки XPS-файлов к печати. Принцип запуска инструмента просмотра документов работает аналогичным образом, как и в любом другом подобном приложении:
- Откройте Hamster PDF Reader.
- Щелкните по иконке папки с надписью «Открыть».
- Выберите необходимый файл, а затем подтвердите его запуск во встроенном редакторе.
Функционал программы не представляет собой ничего нового, однако оформление редактора кажется наиболее привлекательным среди всех рассмотренных утилит.
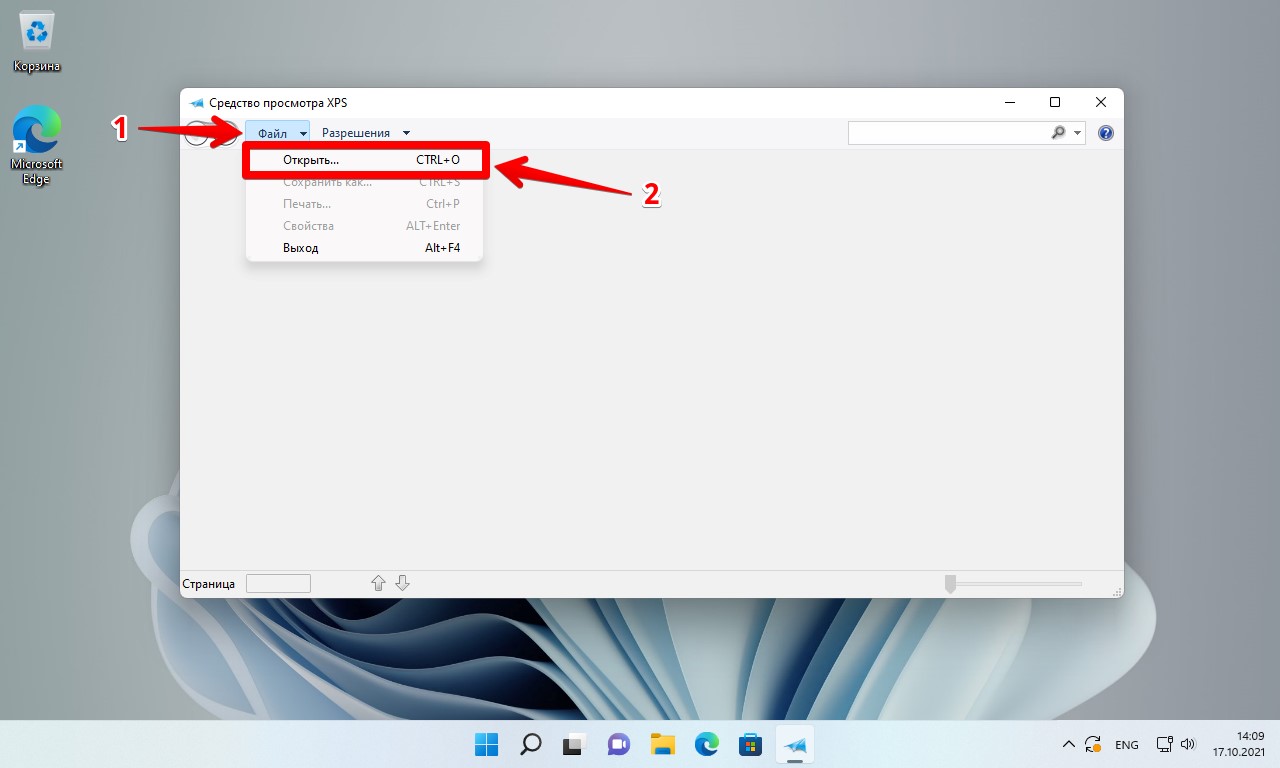
Средство просмотра XPS
Несмотря на то, что операционная система Windows 10 лишена прямой возможности взаимодействия с XPS-файлами, внутри ОС спрятано специальное средство просмотра подобных документов. Правда, по умолчанию оно заблокировано, а принудительная активация выполняется по инструкции:
- Кликните ПКМ по иконке «Пуск».
- Выберите пункт «Приложения и возможности».
- Щелкните по надписи «Управление дополнительными компонентами».
- Нажмите на кнопку «Добавить компонент».
- В представленном списке выберите «Средство просмотра XPS».
- Как только элемент отобразится в списке доступных компонентов, то обязательно нажмите на кнопку «Установить».
После загрузки необходимого ПО, которая занимает не более 30 секунд, появляется возможность работы с расширением «.xps». Для запуска подобного файла следует кликнуть ПКМ по его иконке, а затем выбрать средство просмотра через вкладку «Открыть с помощью».
Также взаимодействие с текстовыми и графическими объектами осуществляется через интерфейс самого средства. Найдите его через поисковую строку Windows, после чего откройте интересующий файл при помощи одноименной вкладки меню.
How do I Open an XPS File in Windows 10/11?
However, if you still deal with XPS files or have one saved in XPS format, Windows 10/11 still comes with a default XPS viewer. So, in this article, we will show you how to view XPS files and documents on a Windows 10/11 computer. Let’s check out.
Method 1: Enable XPS Viewer on Windows 10
- Open the Settings app.
- Go to Apps, and click the Optional features link.
- Choose to Add a feature.
- Select XPS Viewer from the list.
- Click the Install button.
Method 2: Install XPS Viewer Using RUN Command
If you are unable to access Windows 10’s settings page, you can try implementing this method. In this method, we will be using the RUN Dialog box on Windows 10 to install the XPS viewer application.
Step 1: Click on the ‘Windows + R’ button to open the Run dialog box from the list.
Step 2: Type in ‘xpsrchvw’ and hit the Enter button.
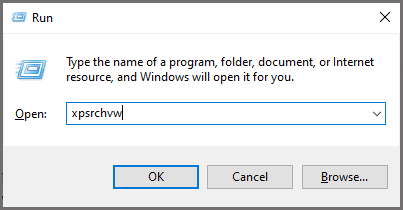
That’s it! Now you can directly open the XPS files using the above command. This command will activate the XPS viewer of your Windows 10/11 computer.
Method 3: Try Installing XPS Files Reader
You can install a third-party application to open an XPS file in Windows 10/11. Here is a list of applications that will open XPS files.
- Free XPS Viewer
- XPS Annotator
- Sumatra PDF
- MuPDF
- Danet Studio
Method 4: Open XPS Files Using Google Drive

If you are not willing to install a third-party app to view an XPS file, go with Google Drive. Just by uploading the XPS file to Google Drive, you can access the contents of the XPS file.
Step 1: Open Google Drive and sign in with your account.
Step 2: Click the New button and select File Upload.
Step 3: Select the XPS file and wait for it to upload.
Step 4: Double-click to open the file in Google Drive and it will open.
Method 5: Convert XPS Files to PDF Format
In case you are still not able to view the XPS file, you can convert XPS files to PDF. Next, let’s learn how to convert an XPS file to a PDF.